
Posted by Sandpaper America on Aug 18th 2022
10 Step Guide to Replacing a Broken Baseboard
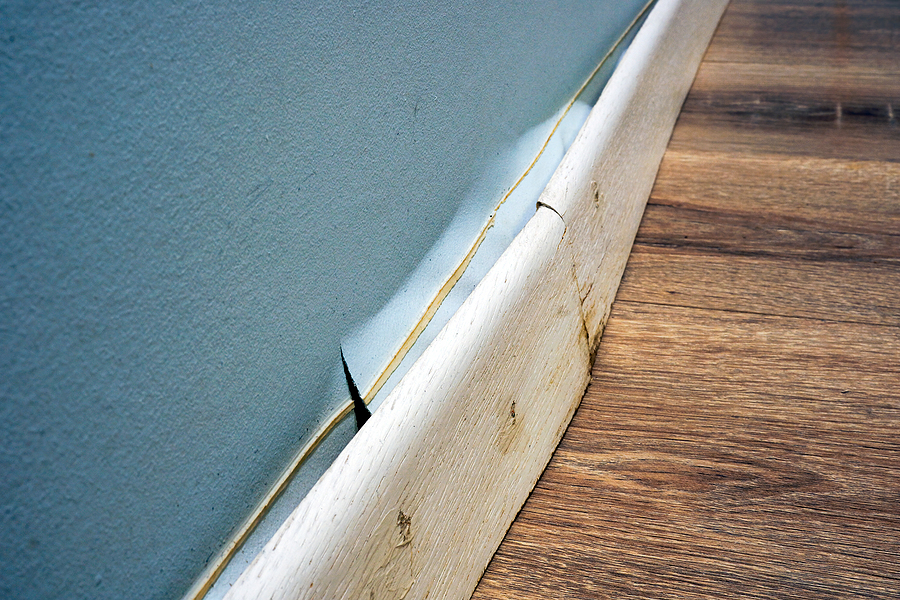
Baseboards are right there by our feet. So, it’s no surprise they are more prone to getting scuffed up, dented, chipped, and cracked. Other times, baseboard damage is a result of improper installation or inadequate adhesion. And sometimes, normal wear and tear is the only factor to blame. Regardless of the source for your baseboard damage, there are some simple options for repair.
Continue reading to review a basic guide for replacing a damaged section of baseboard all on your own.
Baseboard Repair Guide
Keep in mind, this guide is recommended for those with experience with construction and handy work and knows how to use tools safely.
What You’ll Need:
- Replacement Piece of Baseboard Molding
- Wooden Shims (at least 2 per 6 inches)
- Miter Box
- Grab Adhesive
- Wood Glue
- Utility Gloves
- Hammer
- Nails
- Panel Saw
- Level
- Pry Bar
- Paint Brush
- Latex Primer
- Matching Paint Color
- Spackle Compound
- 120 Grit Sandpaper
- Putty Knife
- Pencil
Baseboard Removal and Replacement Instructions
If only a small run of baseboard has the damage, replace the entire strip. But if a long run of baseboard is damaged, cut out and replace only the damaged section.
Step 1
Wedge the flat end of the pry bar between the wall and the baseboard. Pry the baseboard away from the wall far enough to insert two wooden shims on each side of the damaged area. The shims will hold the baseboard away from the wall so that you can measure and cut it away.
Step 2
With the wooden shims in place, use your pencil and your level to draw perfectly vertical lines on each side of the damaged section of baseboard. These lines mark where the board will be cut later on.
Step 3
Line your miter box up with the damaged section of the baseboard. Using the angled crevices (they should point inward at the top, like an upside-down V), carefully saw down the penciled-in guidelines. Use short, precise strokes.
Step 4
Once cut all the way through, remove the wooden shims and damaged section of baseboard. Then reattach the surrounding molding using your hammer and nails. Two nails on each side should be enough.
Step 5
Measure and cut your replacement piece of molding to fit the empty section you cut away. Apply wood glue to the angled sides, and grab adhesive on the back.
Step 6
Press the replacement piece of molding into the cut-away section, allowing the glue and adhesive to sufficiently adhere to the surrounding baseboard and back wall.
Step 7
Hammer in four to six more nails on the front face of the replacement piece to secure it into the wall.
Step 8
Use your putty knife to apply spackle compound across the seams and over the nail heads. Apply smoothly and evenly over the baseboard. Allow to dry completely.
Step 9
Sand down the dry spackle until the baseboard surface is smooth and level with the existing molding.
Step 10
Apply primer. Allow it to dry and then paint. You should only need one to two coats. Allow this to dry and you are done!
Are you looking for quality sandpaper supplies at an affordable price? Call Sandpaper America at 1-800-860-SAND to buy quality abrasives like belts, sanding sheets, cloth rolls, and more. We offer the most competitive prices for abrasives and convenient online ordering across the nation!
Related Posts:
How
to Sand Wood With Traditional Sheet Sandpaper
Is
Stripping Wood Better Than Sanding Wood?
Important
Sandpaper FAQS You Want to Know