
Posted by Sandpaper America on Jan 6th 2020
A Fool-Proof Guide to Removing Kitchen Tile Backsplash
Kitchen tile backsplash has come a long way in terms of designs and styles. As these trends continue to evolve, so does the need for homeowners to replace outdated looks. However, many homeowners, even those experienced in handy-work, are intimidated by the idea of taking off kitchen tile backsplash out installed with thinset or mastic of fear that they will damage the wall behind. Fortunately, there is a sure-fire, fool-proof way to avoid this common mistake, so long as you are properly equipped with the right materials, tools, and supplies!
Continue below for a basic guide to removing kitchen tile backsplash without causing any harm or defects to the wall underneath.
Kitchen Tile Backsplash Removal
Before you get started, keep in mind that successfully removing tiled backsplash requires precision and patience, but ultimately, it all comes down to technique. In order to implement the correct technique, you must use the right tools and supplies. Here is what you will need for a standard project:
- Electric Sander (or Hand Sander)
- 120 Grit Sandpaper
- Drywall Sanding Pad
- Drywall Joint Compound
- Hammer
- Putty Knife
- Utility Knife
- Screwdriver
How to Remove Tile Backsplash
Removal all materials and items from your workspace. Clear away countertop appliances, décor, and any clutter.
With a clear workspace, you can begin by removing all of the outlet plate covers in the area of the backsplash.
Next, turn off the electricity to the outlets within your workspace. This will promote a higher level of safety and help to prevent accidental electrocutions or burns.
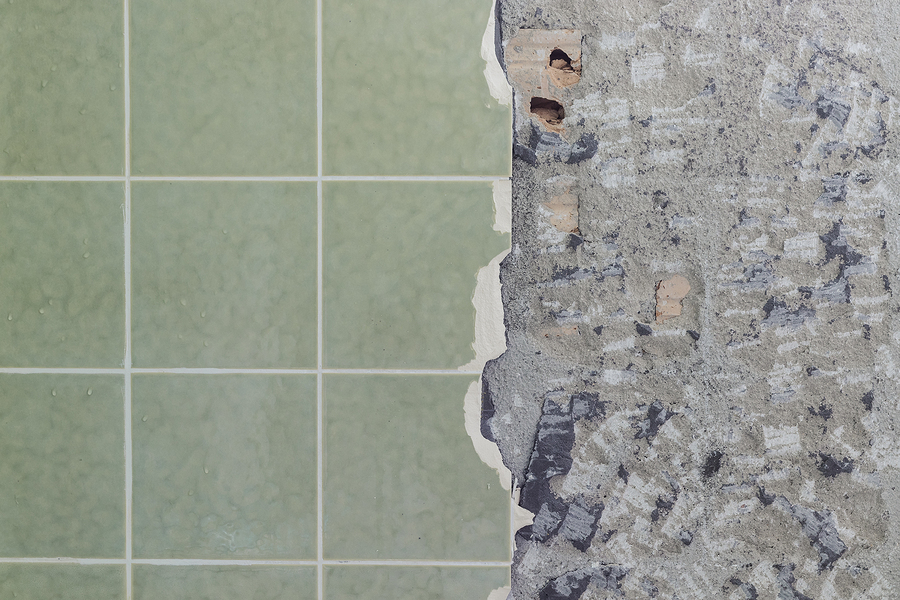
Now you are ready to remove some tile. Using your hammer and putty knife, gently chisel off each individual tile with light taps. Be very careful not to pierce the drywall underneath.
When you have removed every tile, you will expose either a rock-hard or semi-soft adhesive layer that was used to hold the tiles in place. If hard, you are dealing with thinset, which is cement-based. If soft, you are dealing with mastic. Each type of adhesive requires a separate approach from here.
Thinset: To remove thinset adhesive residue, use your putty knife to carefully scrape it away from the surface. Repeat the process until all residue is removed.
Mastic: To remove mastic adhesive residue, you will need your 120 grit sandpaper and electric sander. You can use a hand sander too.
Once all adhesive residues are removed, you can fill in any holes or gashes with drywall joint compound. Once the compound is dry, smooth it out to a flat surface with your sander.
Last, using 120 grit sand paper on drywall-sanding pad, smooth out the rest of the wall for perfection
Where to Buy Quality Sandpaper Products
Call Sandpaper America at 1-800-860-7263 (SAND) to buy high-quality, economically-priced sandpaper and sanding products in Indiana. We manufacture our abrasives in-house, so you can be sure that your products are high quality. Call 1-800-860-7263 to place an over-the-phone order, or go online and buy directly from our website! We offer custom orders, bulk orders, reoccurring orders, invoicing, and much more!
