
Posted by Sandpaper America on Sep 17th 2021
Facts About Speed Squares
Continue below to learn need-to-know woodworking facts about speed squares!
Rafter and Triangle Squares are Speed Squares
Thanks to a man named Albert Swanson, speed squares have added an unparalleled level of comfort and convenience to the carpentry and woodworking industry since 1925. Also called rafter or triangle squares, speed squares are right-angled, triangle-shaped, multi-purpose abrasives used for marking, measuring, and more. Common applications include using them as protractors, rulers, miter squares, enscribing tools, try squares, and saw guides.
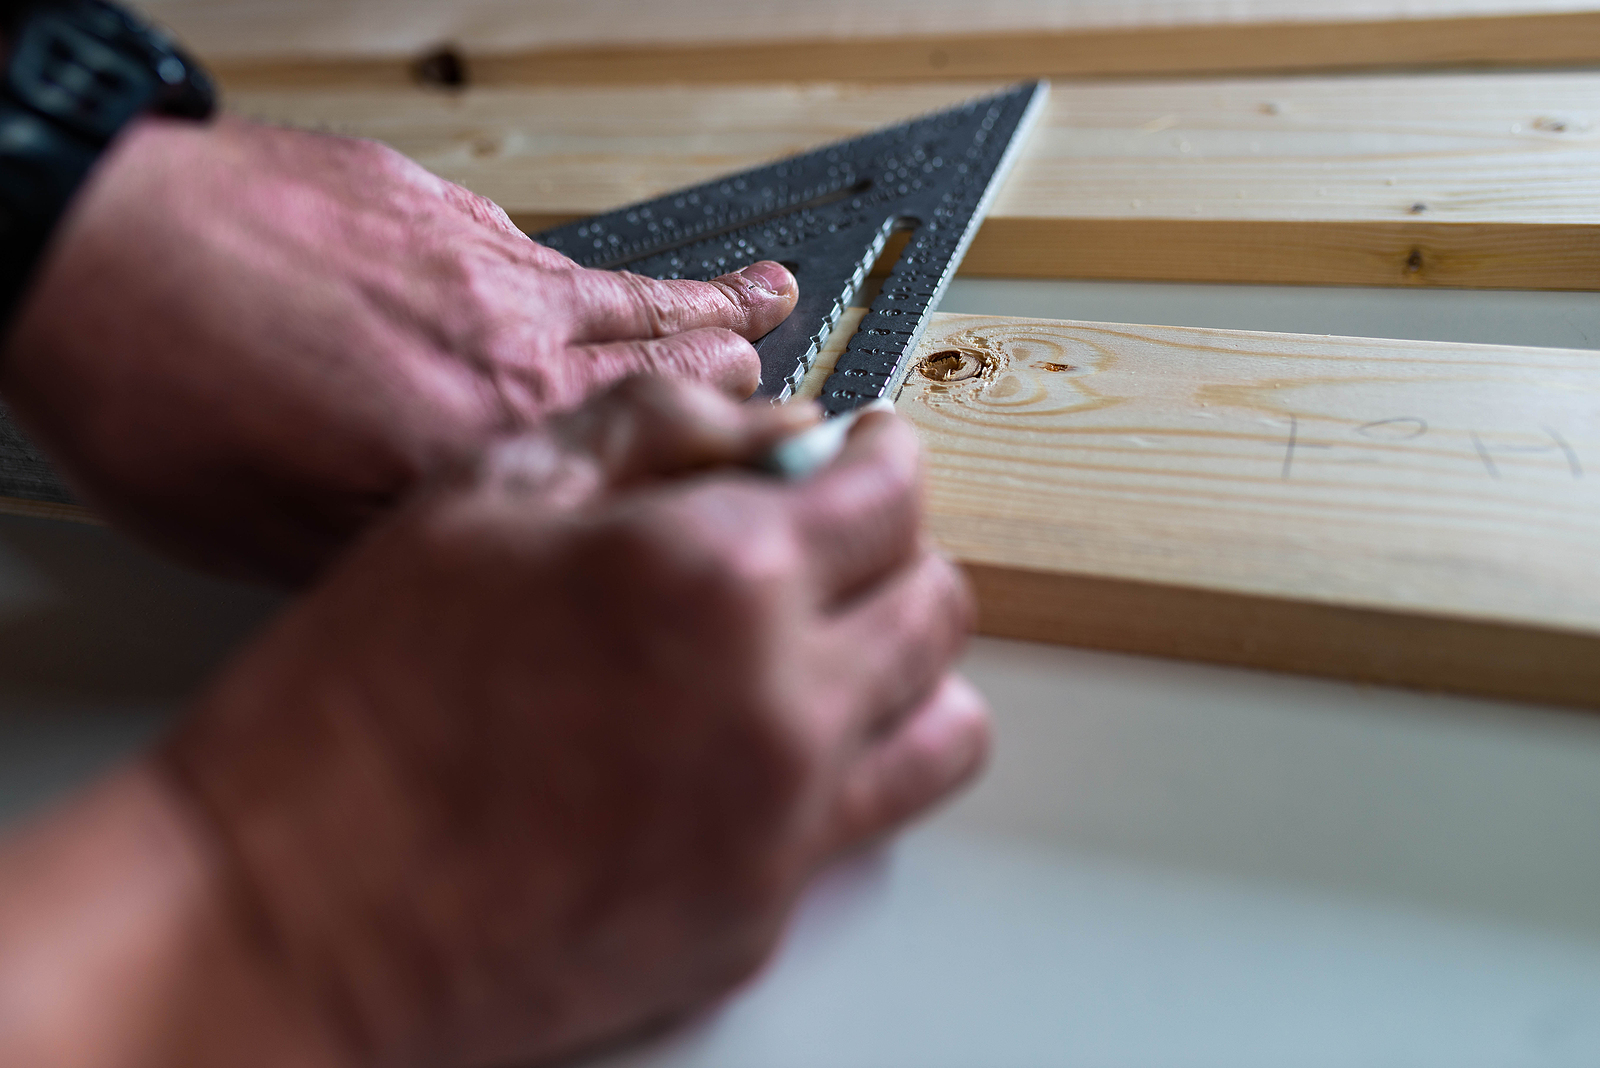
They are designed with a triangle hollow center that has a right angle marked as “Pivot” and a hypotenuse edge marked as “Degrees.” They are also made with a secondary hollowed strip beneath the center with “common” and “Hip/Val” markings. Speed squares are extremely handy, affordable, and easy to use, making them a staple for most carpenters and woodworking enthusiasts. If you are new to carpentry, continue reading to learn some valuable tips for using a speed square.
Speed Square Glossary
Be sure you know some key terminology for speed squares so you can easily follow carpentry instructions and cutting guides. There are three primary terms to know: 1) lip, 2) pivot, and 3) hypotenuse. The “lip” is also called the “fence.” It generally has at least one ruler and runs along one of the three 90-degree angle sides. At the end of the lip, you’ll find the “pivot.” This is the point on the square that helps you find and mark angles. And last, the hypotenuse is the longest side of the square. It will have a ruler measuring degrees, from 0 to 90.
Angles
It is very important to get the right angles when it comes to building and carpentry. And when you use a rafter, finding angles is easy to do. When you place the lip against the long side of the piece you are working on, be sure the other right angle arm is facing away from you. From there, you can refer to the hypotenuse side and use the degrees to measure where you want your angle to be. Hold the pivot point down while you bring the lip away from the board. And always mark angles along the edge that is perpendicular to the lip.
Saw Guides
It is possible to use a speed square as a saw guiding tool. Instead of measuring and marking the wood with pencil, just use your metal speed square instead. By eliminating the pencil-marking step altogether, you can save time and energy. Simply place it directly onto the wood, holding it on the side that is away from you, and proceed to cut away!
Are you looking for premium woodworking materials in Indiana? Call Sandpaper America to order high-quality woodworking products at affordable prices. We manufacture all of their sandpaper and abrasive products in-house, so you can trust their quality and dependability. We offer wolf heads, belts, rolls, sheets, discs, and much more! Order online or over the phone by calling 1-800-860-7263 today.
You Might Also Like:
Top
Scroll Sawing Advice for Beginners
How
to Polish and Buff Hardwood Flooring
Tips
for Sanding Down Drywall
