Posted by Sandpaper America on May 5th 2022
Tips on How to Sand Down Nail Pops in Walls
Underneath all the walls in your home is a structural material called drywall. The drywall is installed using a variety of traditional construction tools, namely, screws and nails. Overtime, no matter how well your home’s drywall was constructed, it is normal for walls to experience a common problem known as nail pops. This occurs when the nails and screws in your drywall loosen, and subsequently push the heads of them toward the inside of the wall. The result is a blister or bump-like protrusion on your flat, smooth wall. So of course, when homeowners see this kind of wall damage, they instantly look for fast and affordable solutions.
Continue reading to learn how to manage nail pops, and where to find top quality drywall abrasives and sanding supplies near you.

Nail Pop Repair
Fortunately, nail pops are not serious issues. They are relatively easy to repair, so long as you retain adequate knowledge surrounding drywall repair and finishing techniques. If you do not, it is recommended to hire a professional contractor or handyman that is experienced in drywall repair and painting service. They have the proper tools, training, and materials to provide professional results in a convenient time-frame. Here is how the process generally works:
Locate the Framing
Use your fingers to tap the drywall and find where the framing is located. Hollow sounds indicate no framing, while dense sounds indicate framing. Once you think you found the framing, double-check by tapping each side to make sure they are hollow.If you have a concentrated area of nail pops on one wall, there is most likely a frame right behind it.
Screw in the Drywall
On the framing, insert one drywall screw a few inches above and below the nail pop, and secure the drywall back into place.
Press the Nail Pop
Depress the nail pop back into the wall by gently using a hammer. Use a drywall knife to collect the associated broken material.
Apply Drywall Mud
Twice-coat the affected area and the head of the screws with quality drywall mud. Using two coats with provide more secure coverage and smoother results.
Sand the Wall
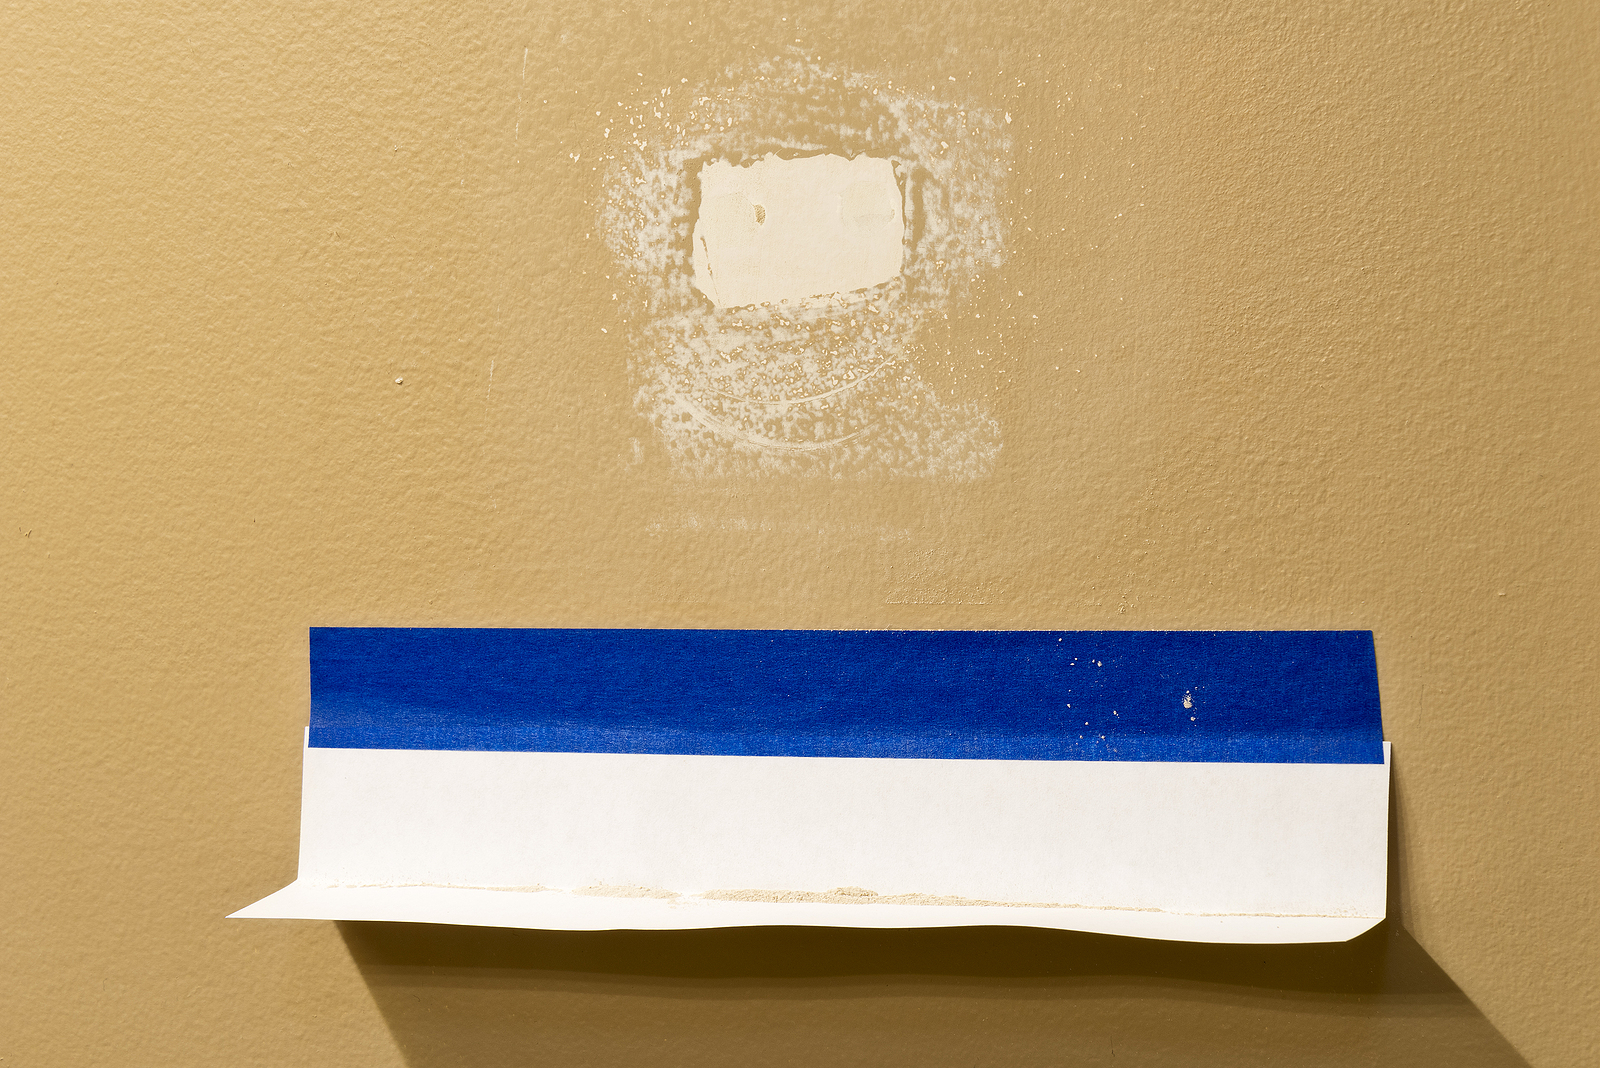
Once the drywall mud is dried, lightly sand the area down until it is a smooth and even surface. Be sure to use the proper-grade sandpaper for optimal results.
Prime and Paint
When the area is sanded to a smooth finish, it is ready for primer and paint. Use a high-quality primer and allow it to dry completely before applying paint. Use the same paint color as the rest of the wall unless you wish to change the color of the entire wall.
Are you ready to restock on some new drywalling materials? Contact Sandpaper America at 1-800-860-7263 (SAND) to buy high-quality, economically-priced sandpaper products for drywall work and painting. We manufacture our abrasives in-house, so you can be sure that your products are high quality. Call to place an over-the-phone order or go online and buy directly from our website! We offer custom orders, bulk orders, reoccurring orders, invoicing, and much more!
Related Posts:
Tips
for Sanding Down Drywall
6
Step Guide to Repair Chipping Paint
Tips
for Using a Stationary Belt Sander

