
Posted by Sandpaper America on Jun 27th 2022
How to Rent a Hardwood Floor Sander
Hardwood Floor Sander Rentals
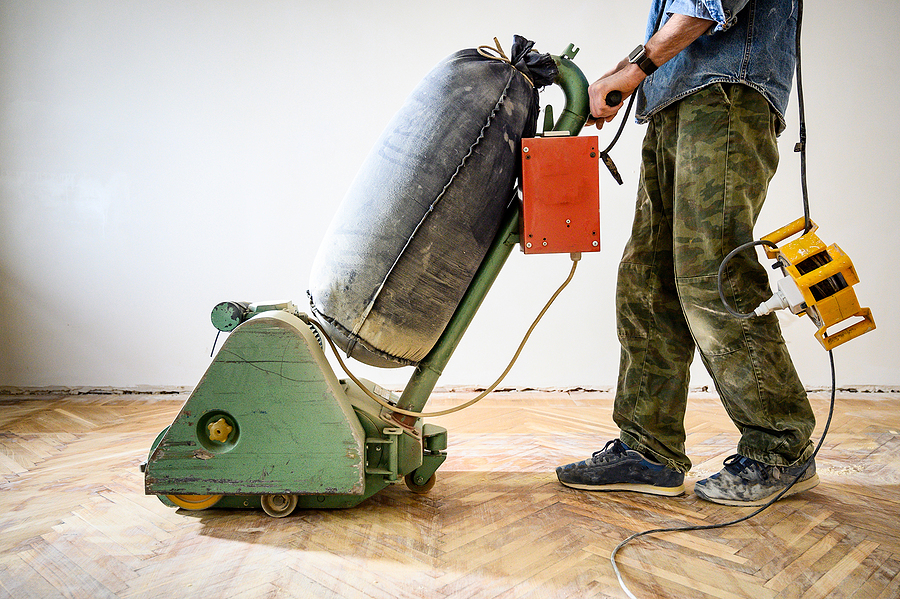
Before you start on your hardwood floor refinishing project, there are a few things to do in order to properly prepare. Be sure to inspect the flooring thoroughly and don’t forget to remove the floor registers. Then you must measure the thickness of your flooring. If you are dealing with oak flooring, keep in mind that they are generally three quarters of an inch thick.
Usually, oak wood flooring can be sanded multiple times. After measuring the thickness of your flooring, if you find that they are thinner than 3/4ths of an inch, it is strongly recommended to hire professional floor contractors. Thin flooring requires the highest level of carpentry and skill to avoid sanding through the sub-flooring.
Moving along, it is also helpful to remove shoe molding to support sanding from wall to wall. Afterwards, be sure to tighten loose boards, pull out protruding nails (sanding nail heads is a fire hazard!), and finish by checking the fuse supply. In an older property, the sander you rent can overload the circuit. Also be sure your workspace has adequate ventilation. You don’t want to breathe in excess sanding dust and debris! Wedge towels at the bottom of doors, hang drop cloths in doorways, and sweep the floor before getting started.
Now it’s time to rent a quality sander for the job!
What You Need to Know About Renting a Floor Sander
When you are renting a power sander, it is important to choose a trusted retailer that employs a staff adept in power tool usage and safety. Talk to the salesman about how to use the sander and be sure to request the owners’ manual for manufacturer instructions. Don’t forget to ask about any special attachments, accessories, or wrenches you may need to operate the sander more effectively.
While in the store, grab a shopping cart and add in a few extra materials to make the sanding process safer and more comfortable. This includes a dust mask or respirator, work gloves, ear plugs, and drop cloths. Next, you will need to purchase accessories for your sander that are not included in the rental, namely sandpaper. You will need to ask the staff which type of sandpaper you will need for your particular sander and project.
Hardwood Sanding Materials
For hardwood floor restoration and power sanders, you can expect to buy sanding discs, sheets, or belts. You will most likely need at least 10 of whichever material you choose. For larger rooms, you will need more. If you need to remove paint or tarnish first, you will have to start with a courser grit, like 16 or 20; but as you move on, you can use grits between 36 and 80.
As a finish, you will need a finer grit, usually around 100 or so. Do your research to know exactly which grits you’ll need for your sanding project. If you truly want a professional finish, rent two sanders: a large, powerful sander for main portions, and a smaller edge sander for more exacting one for corners and against walls.
Are you ready to bulk up your arsenal of hardwood finishing supplies with top-quality abrasives? Contact Sandpaper America at 1-800-860-7263 (SAND) to buy quality sanding discs and products at the most competitive warehouse prices. We manufacture their abrasives in-house, and offer a wide variety of grits, belts, discs, wolf heads, rolls, sheets, and more!
Related Posts:
How
to Polish and Buff Hardwood Flooring
Fundamental
Tips for Using a Disc Sander
Why
Use a Drum Sander for Wood Floor Sanding